If you run a café, restaurant, tavern, bar or delivery business and want a digital menu with QR, you are in the right place. This guide shows you exactly what to do, step by step — from zero to sharing your link with customers.
Follow the order — each step takes no more than 5 minutes.
Create an account at waitex.app with an email address. Your email will not be visible on the public menu — it is used for login only. Free 30-day trial, no card required, no commitment.
Before doing anything else, go to Settings and set your menu's base language and translation languages. Everything you add next (categories, products) will be automatically translated into those languages. No limit on languages — we recommend 8-12 for maximum tourist coverage.
Fill in your business details in Settings: Facebook, Instagram, TripAdvisor, Google Reviews, contact email (this will be visible to customers), phone number, map location, opening hours. The more you complete, the more trustworthy you appear.
From Settings › Appearance, choose one of 30+ ready-made themes that match your style. Then upload your logo and a cover photo to give your menu a personal identity.
Set your Footer Notes — the text shown at the bottom of your menu. Perfect for announcements, delivery info, take-away phone number, or a short message to your customers.
This is the main part. You have three options:
📋 Manually — Create categories (e.g. Coffees, Desserts, Snacks) and add products one by one.
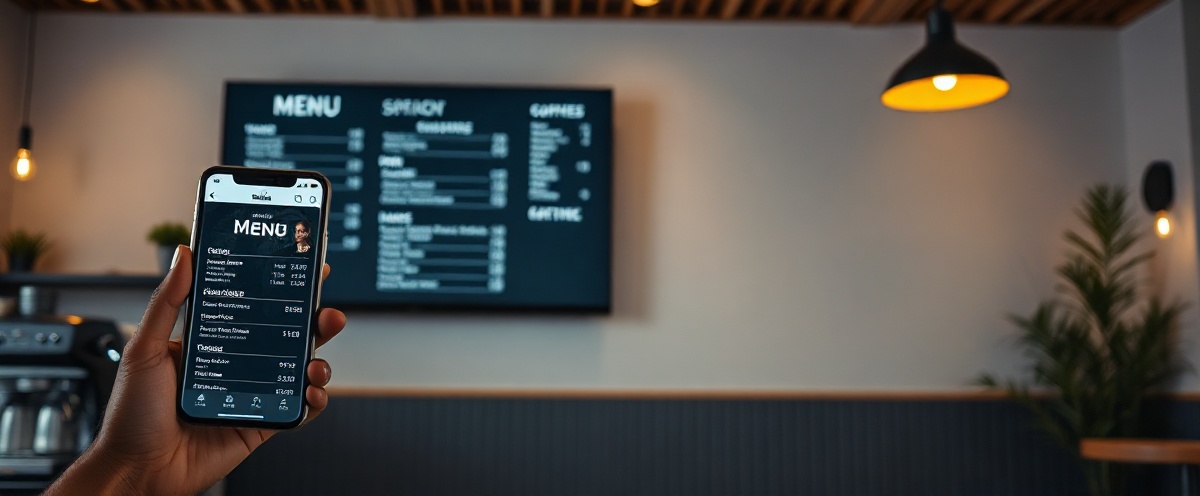
📷 Smart Scan — Upload a photo or PDF of your existing menu. One clear photo is enough. The AI recognises products automatically — tap "Add all" and your menu is ready in seconds. Our tool creates categories, products, descriptions, prices and images.
📧 Send us a message — Send a photo of your menu to support@waitex.app and we will digitize it for you — completely free, no commitment. We can also find your business details online (e.g. from TripAdvisor or Google Reviews).
From the admin panel, download your QR code and print it or order professional acrylic QR stands for your tables. Place one on each table — customers scan with their phone camera, no app required.
You have 30 days free to try Waitex with real customers. No card required, no automatic charge. Only if you decide to continue do you choose to pay.
Even if you change your mind and want to switch to another provider, you do not need new QR codes. Waitex offers a redirect tool — your QR on the table keeps working, but sends customers to your new link:waitex.app/mycafe → www.newprovider.com/newcafe
Phone, tablet, TV — one link, everywhere.
Once your basic menu is set up, take advantage of these two free extras.
Connect any TV or tablet and display your products full-screen with auto slideshow. Just open waitex.app/mycafe/tv in the TV browser.
A ready-made page for your Instagram bio and social media: waitex.app/mycafe/hi — gathers all your links (menu, delivery, map, reservations) in one place.
Announce events, happy hours or seasonal offers with a popup banner that appears automatically when customers open your menu.
Step 2 is critical. If you add products before setting languages, you will need manual translation for each one.
After Smart Scan, check that all categories are enabled — otherwise they will not appear to customers.
A menu without a phone number, map and opening hours loses reservations and customer enquiries. Spend 3 minutes filling them in.
Before printing, scan your own QR code and check that the menu displays correctly on mobile.
Free for 30 days — no card, no commitment. Or send us your menu and we will do it for you.
🌿 Create Your Menu →Or email us: support@waitex.app